How I created My Blog In Ten Minutes (No WordPress)
Table of Contents
Introduction
Writing a blog doesn’t have to be complicated. In this article, I’ll show you how I created mine in just a few minutes using Hugo and Markdown—no time wasted on clunky interfaces or useless plugins.
Why I Need a Blog
I recently read about the importance of having a blog in “Soft Skills for Developers” by John Sonmez. He explains that having a blog is a great way to express yourself, carve out your own space on the web, showcase your personal brand and passions, and add value to your life—and to others’. So here I am writing this article, the very first one on my blog, explaining how I built it! (You’re welcome.)
The Problem
John Sonmez convinced me—but he suggests using tools like WordPress or Blogger. I’ve used WordPress in the past and honestly, I don’t like it. I wanted something simple that would let me focus only on the part I care about most: writing. At the same time, I needed something that would integrate smoothly into my daily workflow as a software developer.
The Solution
After some research, I found HUGO, an open-source project that lets you generate a static website by writing Markdown files. As a heavy Obsidian user, I couldn’t have found a more perfect match!
- Hugo is an open-source project born in 2013 and written in Go.
- Hugo is highly customizable thanks to its collection of ready-made themes—and you can even build your own.
- Hugo also generates an RSS feed by default, which I integrated into my portfolio to fetch the latest 5 posts. I think that’s a nice bonus—everything’s automated, even the RSS feed.
Its killer feature for me is how easy it is to generate a static site from Markdown files in just seconds.
The process of writing and posting an article is as simple as it gets: just write a new Markdown file, run a command in the terminal, and you’re done!
The Process
- Install HUGO
- Prerequisites:
- Git
- Go
- Prerequisites:
# Ubuntu
sudo snap install hugo

# Enable and disable access to removable drives for hugo
sudo snap connect hugo:removable-media
sudo snap disconnect hugo:removable-media
- Create a new site
hugo new site <siteName>
cd <siteName>

# Initialize a git repository
git init

# Add a theme
git submodule add https://github.com/theNewDynamic/gohugo-theme-ananke.git themes/ananke
echo "theme = 'ananke'" >> hugo.toml

# Start the development server
hugo server
- Add a new post
hugo new posts/my-first-post.md

# Start the dev server including draft files
hugo server -D
- Publish the site
# This builds the site from the folder structure and Markdown files, along with the settings in hugo.toml
hugo
- Once the site is published and changes are pushed to your GitHub repo, you can
use a service like Render or Netlify to deploy your site publicly.
- By setting up automatic deployment, you can publish a new blog post simply by pushing your changes to the main branch.
Recap
In this article, I explained how I built my blog using Hugo, a static site
generator built for those who want to write without distractions.
The simplicity of the workflow was key: I write my articles in Markdown, run one
terminal command, and the site is ready.
I chose Hugo because:
- It fits perfectly into my workflow (Git, Markdown, terminal)
- It’s fast, lightweight, and doesn’t need a backend like WordPress
- It supports both pre-made themes and full customization
- It auto-generates an RSS feed I can integrate into my portfolio
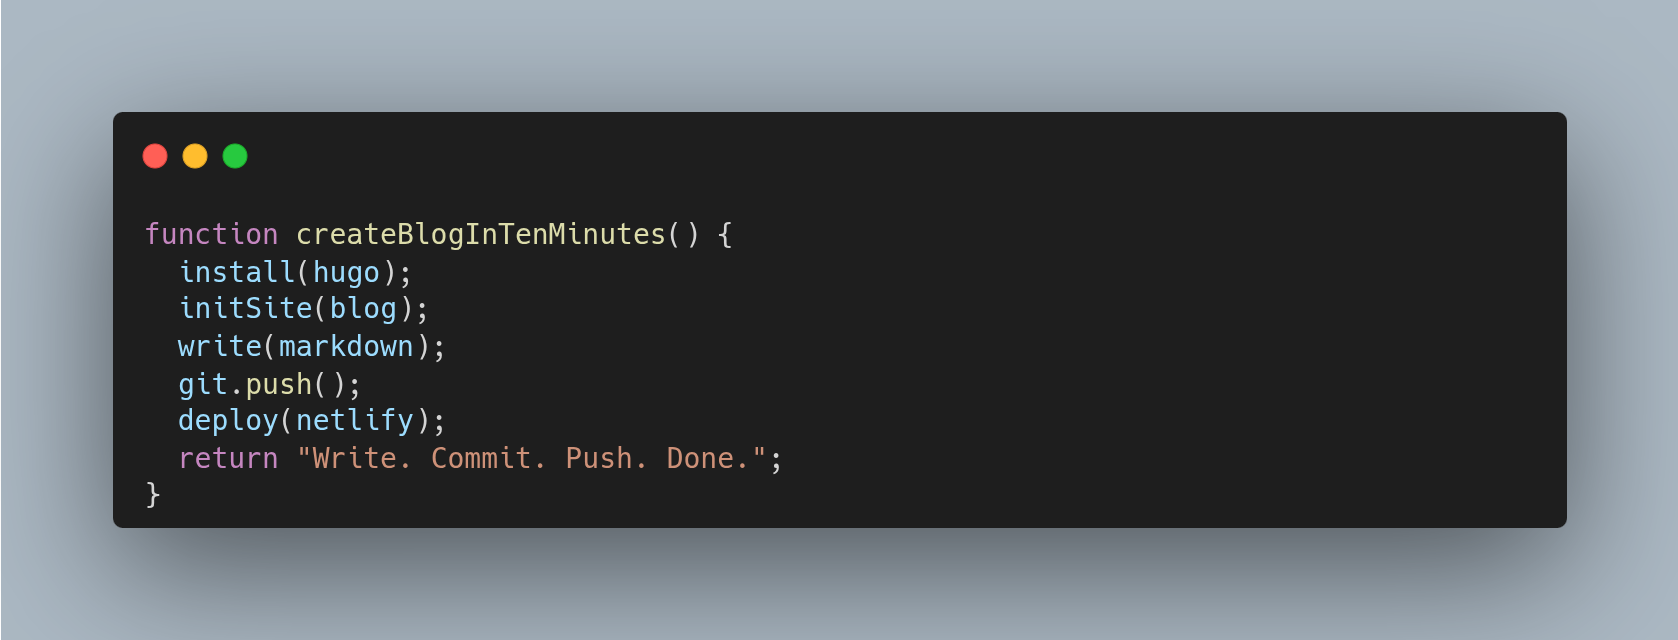
Publishing is fully automated thanks to services like Netlify or Render: every time I push to GitHub, the blog updates itself. Write, commit, push—and it’s online.
If you’re thinking about starting a blog without all the hassle, Hugo is a powerful, minimal tool that’s absolutely worth trying.