Self Hosting Is Self Caring
Table of Contents
Introduction
What if I told you that you could repurpose an old laptop to create value in your life by self-hosting open source projects that solve real-world problems—while also gaining valuable experience in the IT field?
Keep reading to find out more!
Self-Hosting is Hosting
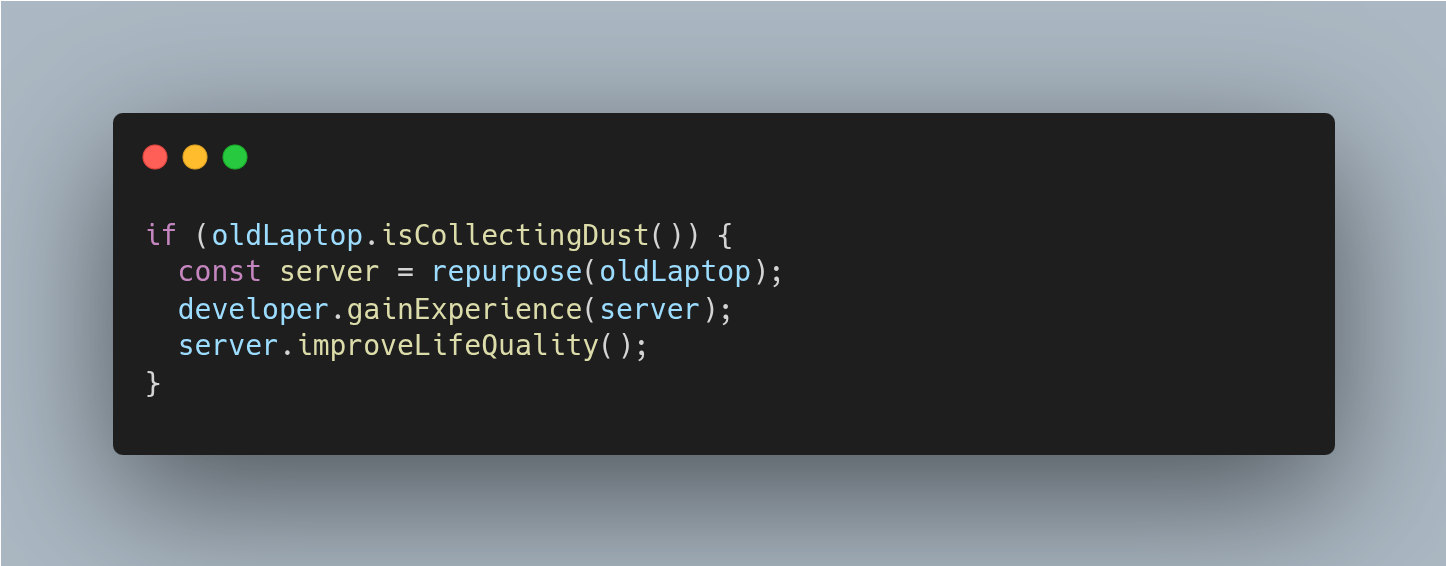
Using an old laptop to turn it into a small personal server will allow you to gain real experience on how a production server works. Because even if it’s small, it’s still a full-fledged server.
Initializing and maintaining a home server in a way that optimizes performance is an experience that translates perfectly into the professional IT world.
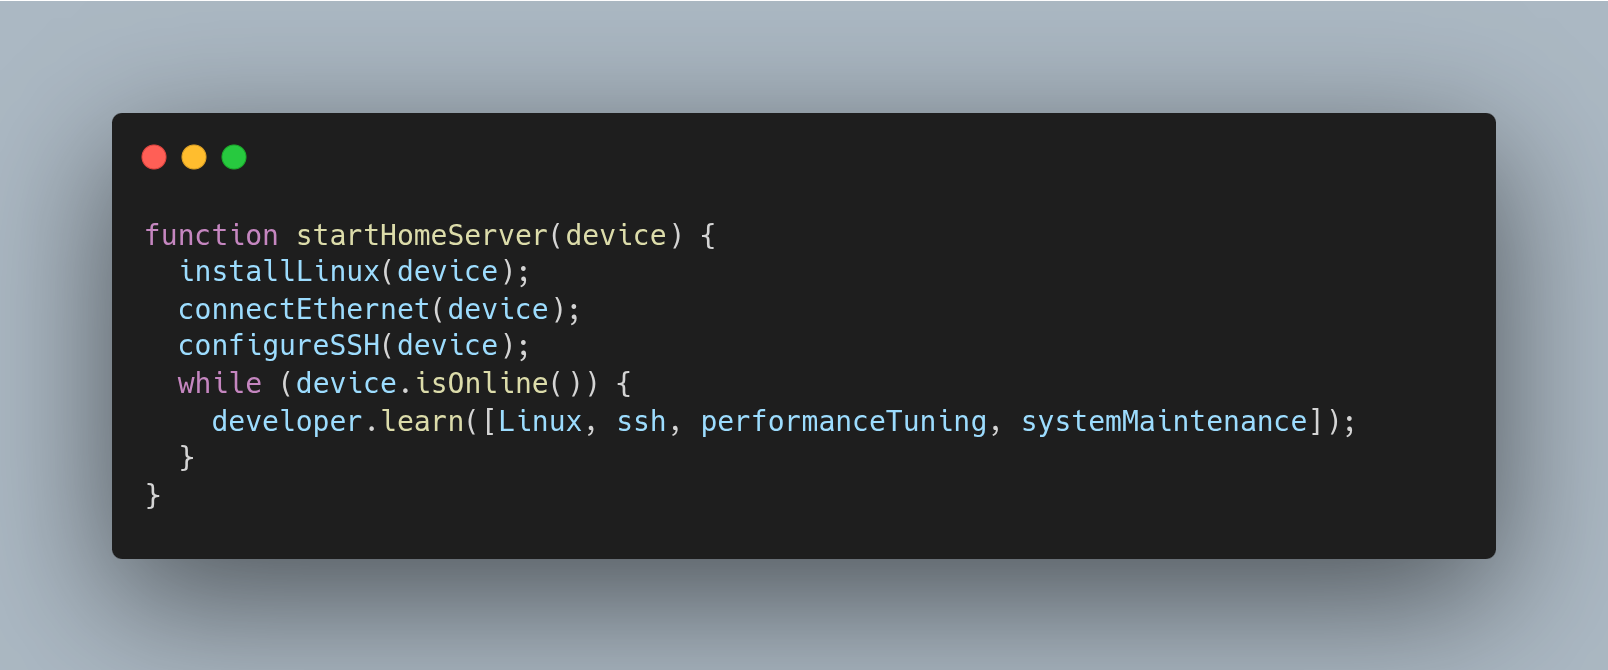
With a home server, you’ll gain experience in:
- Linux
- System maintenance
- Performance optimization
- Terminal usage
SSH- Device interconnectivity
All of this while having fun and creating real value in your daily life!
How to Get Started
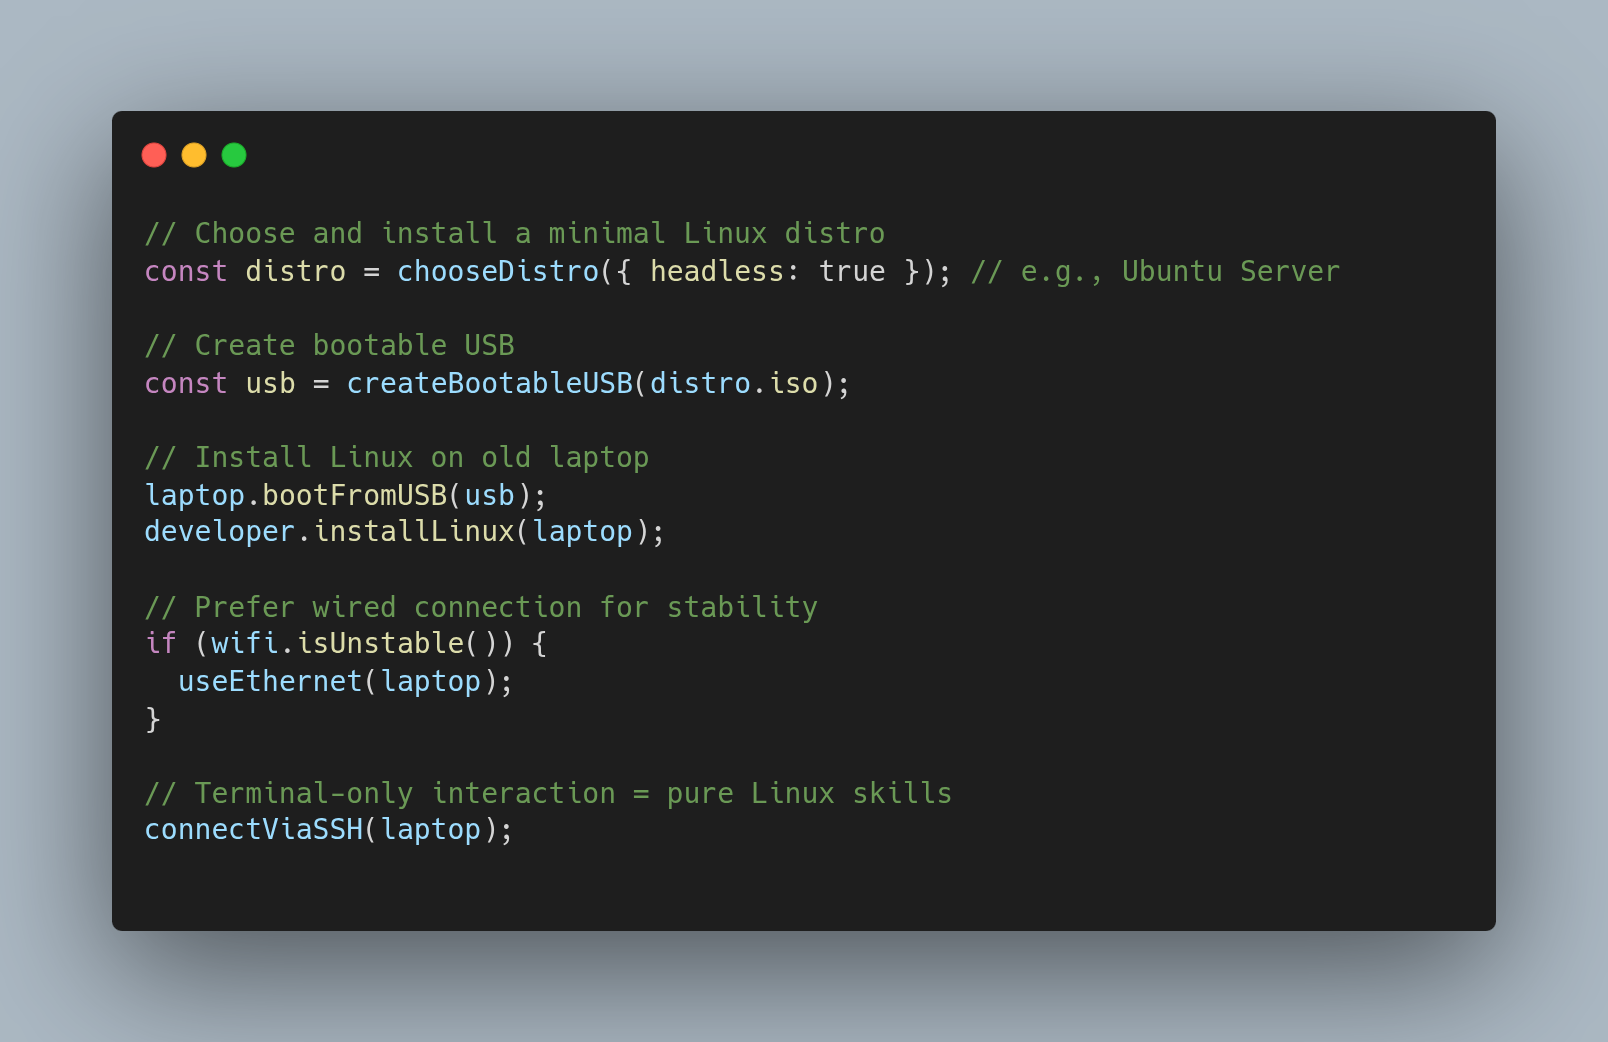
The first step is to install the Linux distribution of your choice on your laptop. It’s important to pick one without a Desktop Environment, as it adds unnecessary overhead and won’t be needed.
We’ll use the server exclusively via terminal—a crucial learning experience in the Linux world. I recommend Ubuntu Server. I also strongly recommend keeping your server connected to your router via Ethernet cable, as this can make the difference between a smooth experience and one full of buffering.
You’ll need to create a bootable USB drive with the operating system image. I use Ventoy to have multiple install images on the same USB drive, but it’s not required—you can also just put the image directly on a USB stick.
Once the USB is ready, plug it into the laptop, enter the BIOS, and boot the system from the USB drive. This will start the installation process of the chosen Linux distribution. Steps may vary depending on the distribution. Once inside, we can start installing all the programs we need.
Essential Tools for Every Home Server
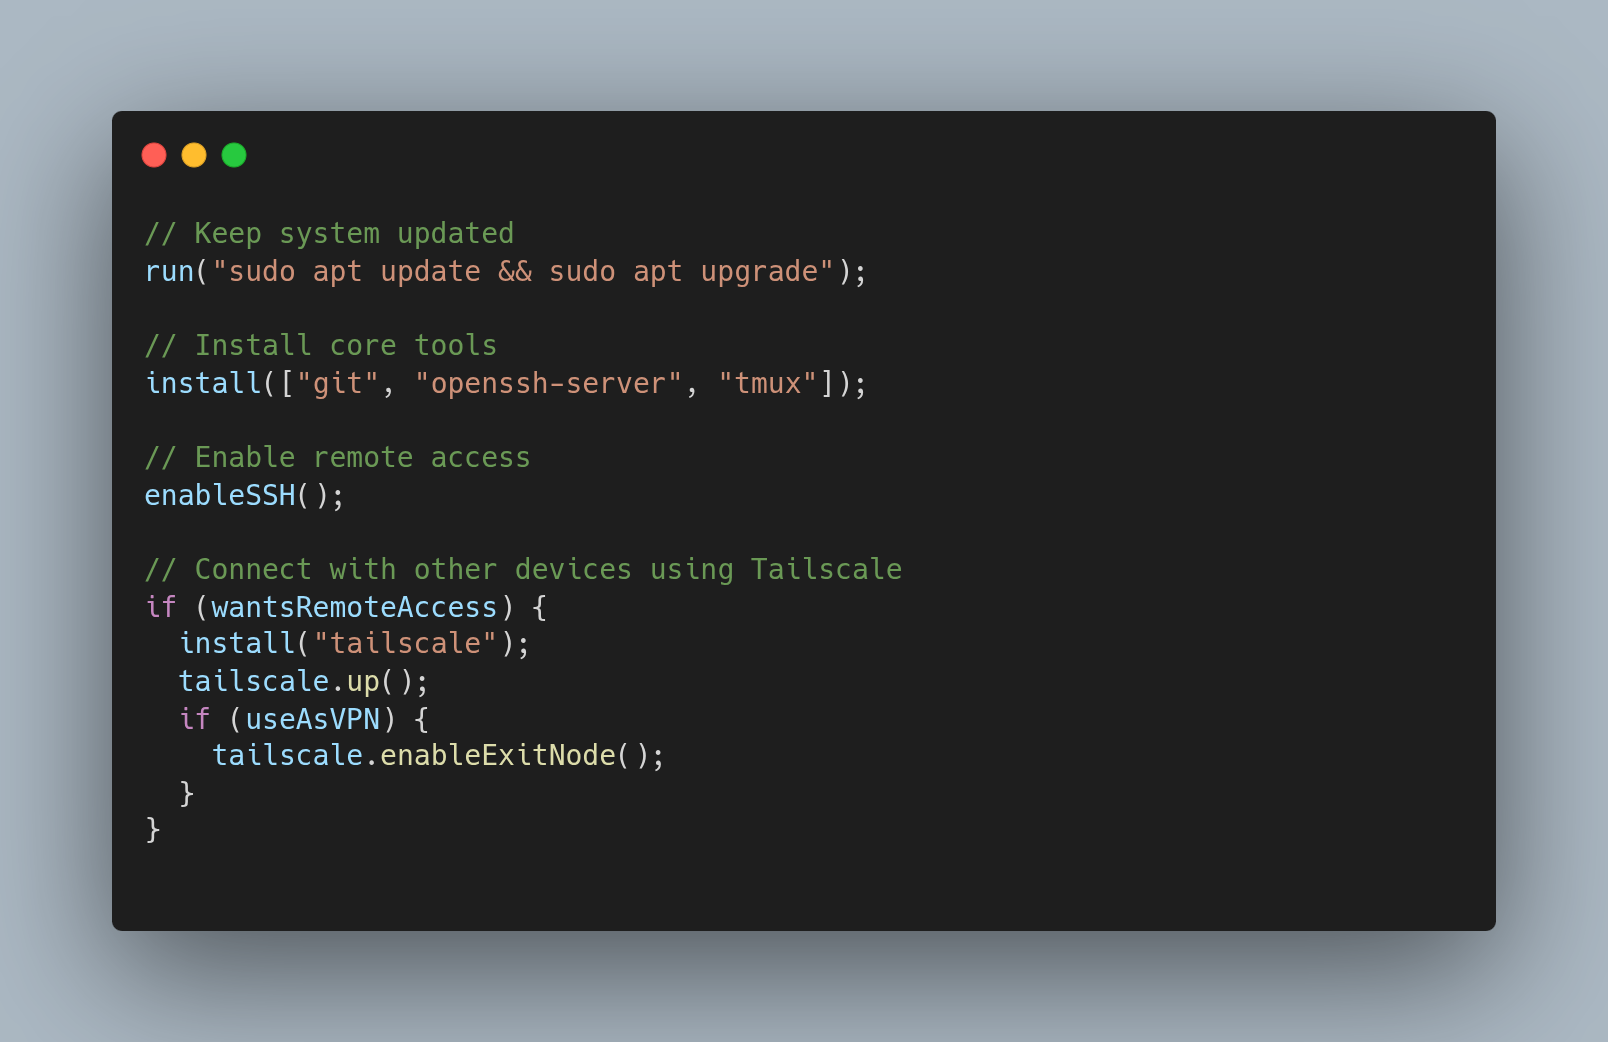
To start, let’s update the system by running the following command (or the equivalent for your Linux distribution). This command updates all installed packages:
sudo apt update && sudo apt upgrade
Now we’ll install some very useful tools for any server:
sudo apt install -y git
- SSH
- SSH (Secure Shell) is a protocol that allows you to securely connect to a server remotely.
sudo apt install -y openssh-server
sudo systemctl enable ssh
sudo systemctl start ssh
- Tailscale
- Tailscale allows us to connect multiple devices together.
- By installing it on your phone and/or your laptop, you’ll be able to access your home server from anywhere in the world, as long as you have an internet connection.
- You’ll also be able to access the server terminal remotely using SSH.
- Additionally, you can use your home server as a VPN, masking your online activity when you’re on public networks and geo-locating yourself at home even if you’re on the other side of the world.
- If you’re traveling and want to watch a movie from your home server with Jellyfin, Tailscale lets you do it as if you were on your home network.
# Install Tailscale
curl -fsSL https://tailscale.com/install.sh | sh

# Enable and Start the Service
sudo systemctl enable --now tailscaled

# Authenticate and Connect the Device
sudo tailscale up

# Enables VPN capabilities for this device
sudo tailscale up --advertise-exit-node

# Check connection
tailscale status
- tmux
- Tmux is a terminal multiplexer; it allows you to start long-running operations and let them finish in the background while you disconnect from the server.
- Very useful when you want to download something large via torrent, for example.
# Install Tmux
sudo apt install -y tmux
4 Great Open Source Projects to Start Self-Hosting
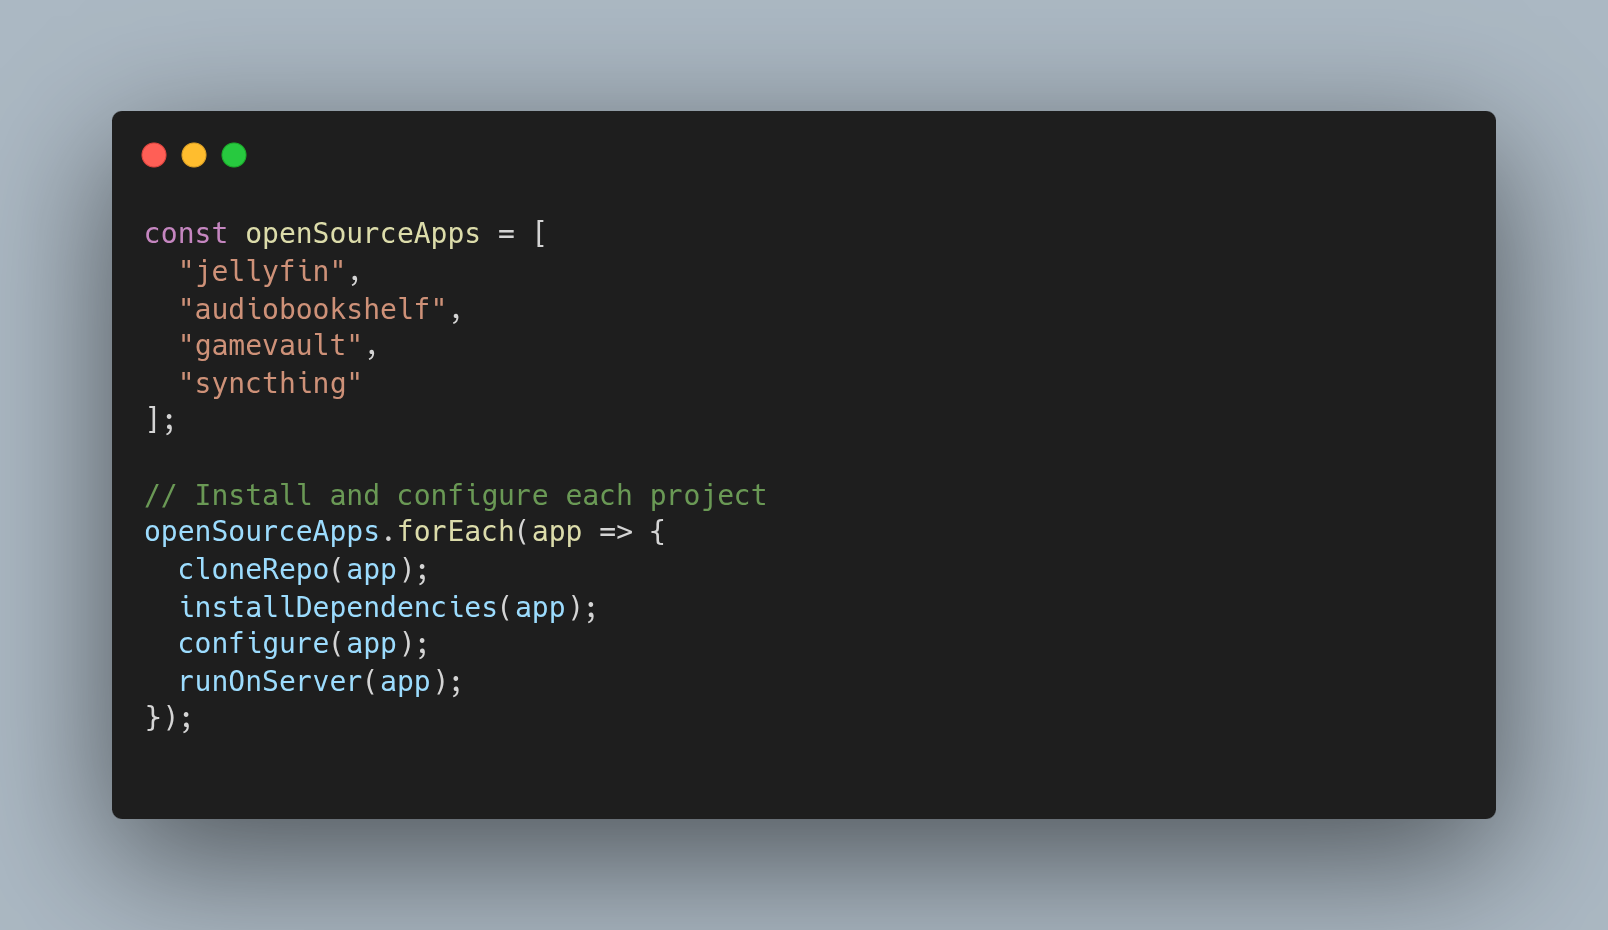
Now that we have the essentials to access our server remotely, we can start installing actual projects. In this article, I’ll show you 4 open source projects that are great for starting your system admin journey, having fun, and creating real value in your life. I’ll list and link the project pages, and leave the pleasure of discovering their technical workings and how to install them to you. Reading documentation is very important.
-
- This open source project lets you stream your own content like movies and TV series.
- Very useful when content is removed from all paid streaming services and you wouldn’t be able to access it otherwise.
- Being open source, the backend runs on your server, while the frontend can be accessed through various official and unofficial clients.
-
- Very similar to Jellyfin, but allows you to stream your audiobooks and podcasts.
- Like Jellyfin, there are multiple frontend solutions for using the service comfortably.
-
- This open source project allows you to download and install your games, and also save your progress on the server, so you can continue playing on different devices. Just like Steam, but self-hosted.
-
- This open source project allows you to keep one or more folders in sync across devices.
- I use it to sync my Obsidian Vault.
- It’s not necessary to have it on your home server, but it can be helpful for a smoother sync experience since the server is always online, while the other devices you want to sync with might not be.
- This way, you’ll always have a backup copy on your server.
Backup
When we talk about servers, we can’t skip having a backup system — everything can go wrong at any moment, and reinstalling everything is a massive waste of time and energy.
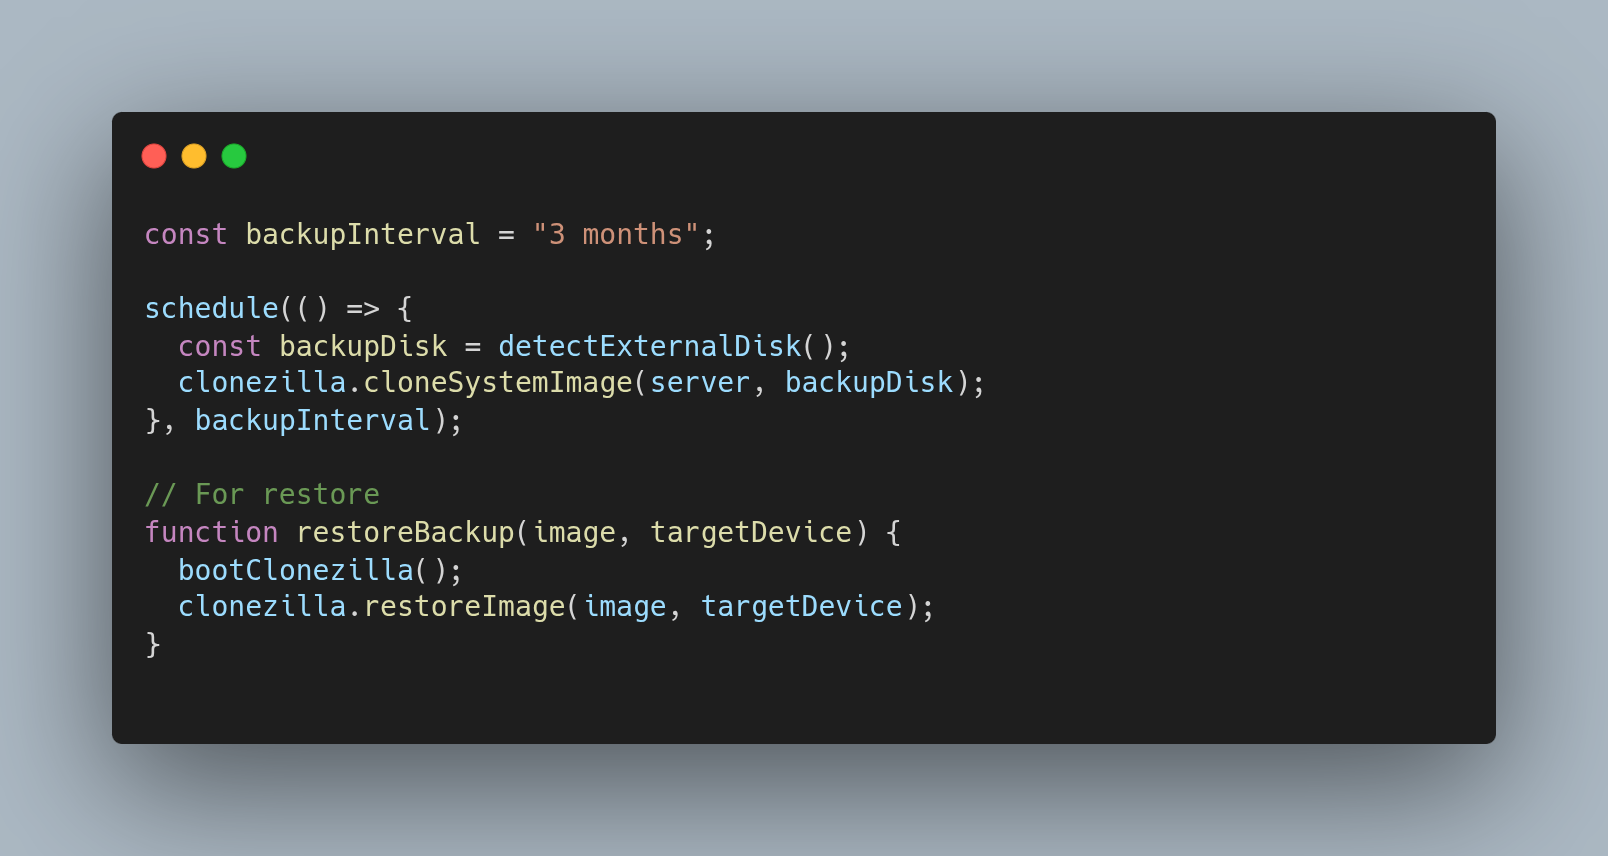
That’s why I personally back up my devices (including the server) every 3 months. I use Clonezilla, a useful tool to clone and restore entire systems. You’ll need to create a bootable USB drive with Clonezilla to run it from BIOS.
You’ll need the bootable Clonezilla USB and an external hard drive. The process is simple: clone your system as a restorable image onto the external hard drive. When you want to restore the image to a device, simply do the reverse operation.
Here’s a very helpful tutorial that walks through both processes from start to finish
Recap
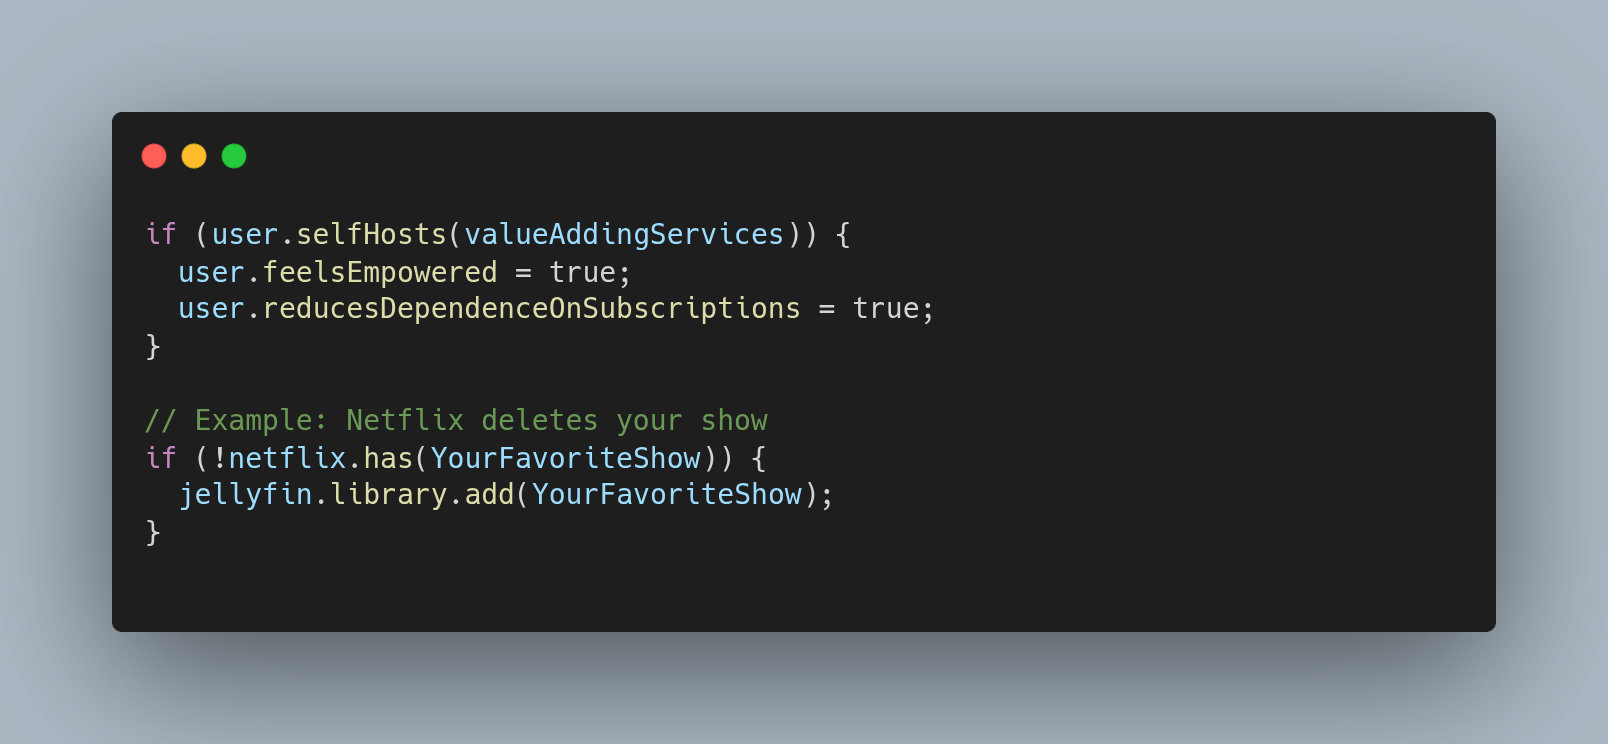
There’s something truly powerful in the idea of being able to self-host services that add real value to your life. I feel a sense of omnipotence every time I create something new that I can use in everyday life. The ability to at least partially replace paid services gives us power — the power to decide for ourselves. Suddenly, we’re no longer at the mercy of what others decide for us.
If Netflix decides your favorite series is no longer sustainable on their servers and removes it from their catalog, you can do something about it.
You can add it to your own catalog!